You have exported a PowerApps and PowerAutomate solution, and you want to re-import it but using another SharePoint site for example (such as connectors into PowerApps or the SharePoint call into your PowerAutomate flows). This solution is to industrialize this process instead of changing mannually while importing solution. Manually is fine when you have two or three data to change, but for bigger solution, when you can have ten or more data to change, this script can be very useful.
It is a PowerShell script which take as inputs, the solution as zip file and a json file which describe what need to be change.
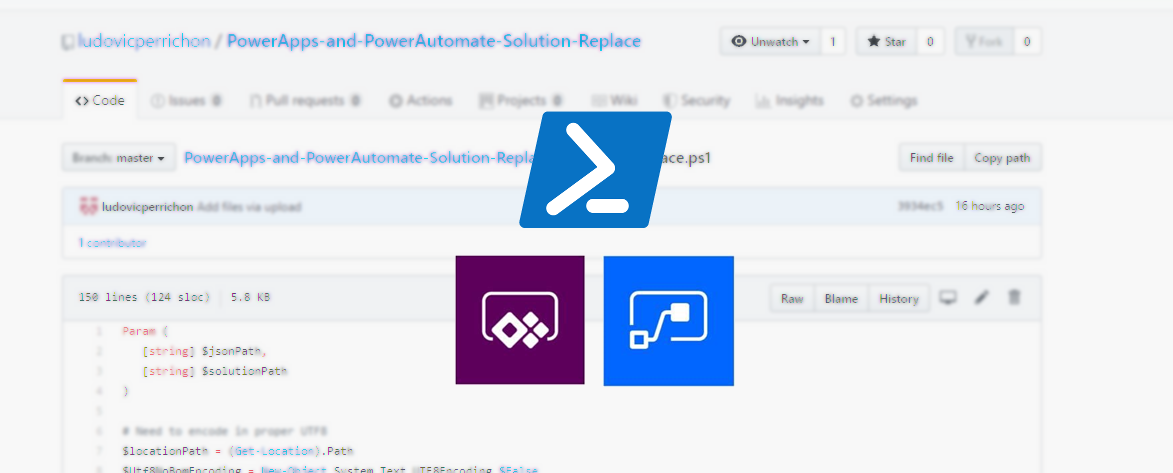
Find the github project with code here: https://github.com/ludovicperrichon/PowerApps-and-PowerAutomate-Solution-Replace
1. Inputs
1.1 zip file solution
As describe a bit above, one of the input is the solution as zip file from PowerApps or PowerAutomate. Please note if some PowerAutomate flow is integrated with your PowerApps solution, it will also works.
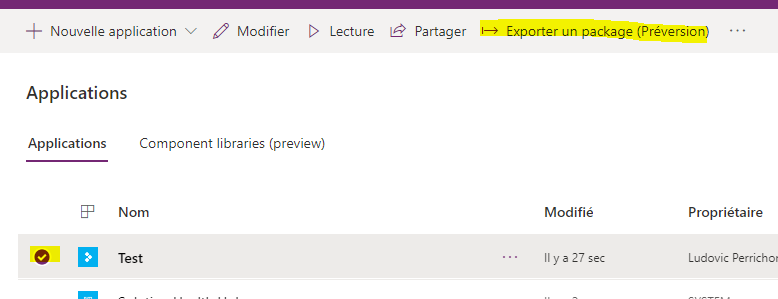
To export from PowerApps the solution, select the PowerApps you want to export, and click on Export a package.
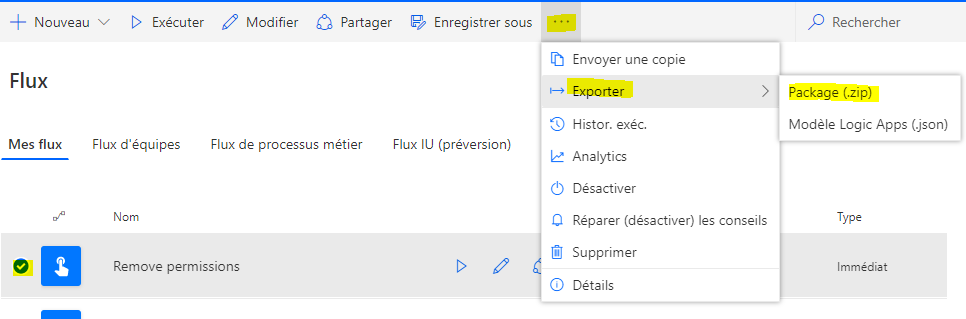
To export from PowerAutomate, select the flow you want to export, click on …, Export then on Package (.zip).

1.2. The JSON file with value to replace
You can find an example of the JSON file in the github project: https://github.com/ludovicperrichon/PowerApps-and-PowerAutomate-Solution-Replace
In this JSON file you will describe which value has to be replaced with which other value.
It is an array of object, the object is containing two strings, the old value and the new value.
[
    {
        "old": "MY OLD VALUE 1",
        "new": "MY NEW VALUE 1"
    },
    {
        "old": "MY OLD VALUE 2",
        "new": "MY NEW VALUE 2"
    }
]
For a better use, your json file must contains:
- The old and new SharePoint site url
- The old and new SharePoint site Title
- The old and new SharePoint List ID
- The old and new Solution name
- If Flow : The old and new SharePoint Content type ID
Otherwise, If something is missing, you will have to change it manually.
[
    {
        "old": "https://MY OLD SHAREPOINT URL",
        "new": "https://MY NEW SHAREPOINT URL"
    },
    {
        "old": "My old site title",
        "new": "My new site title"
    },
    {
        "old": "My old solution name",
        "new": "My new solution name"
    },
    {
        "old": "My old SP site title",
        "new": "My new SP site title"
    },
    {
        "old": "00000000-0000-0000-0000-000000000000",
        "new": "11111111-1111-1111-1111-111111111111"
    },
    {
        "old": "0x0100111111111111111111111111111111111111111111111111111111111111111111",
        "new": "0x0100222222222222222222222222222222222222222222222222222222222222222222"
    }
]
Be careful with connectors name in PowerApps containing spaces. Especially if the new one have spaces.
You need to get it and change it as following:
[
    {
        "old": "@OldConnectorWithoutSpace",
        "new": "@'New connector with spaces'"
    }
]
Of course other data can be change (Name of Label in PowerApps for example), but be careful, script is going to do a search and replace into your files solution, if label isn’t set properly, you might find damaged solution zip which canno’t be imported.
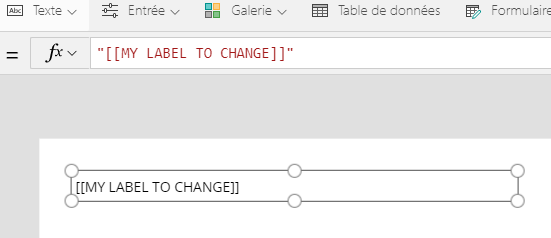
If you want to change a label in PowerApps for example, I higly recommend to use a name in your PowerApps which canno’t be find anywhere else. For example name your label [[MY LABEL]] and add it in your JSON file. This can be used if you make some Template of PowerApps application.
Example:
I have a PowerApps as Template with this Label

I am adding the following lines in my JSON file.
Please note: In this example I just show you how to change a label, don’t forget to integrate the SharePoint url and others lines described above if you are using connectors into your PowerApps solution.
[
    {
        "old": "[[MY LABEL TO CHANGE]]",
        "new": "New application"
    }
]
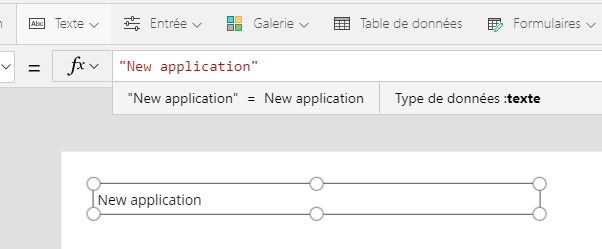
After running the script it will look like this:
2. Behind the script
Script can be found in the github project: https://github.com/ludovicperrichon/PowerApps-and-PowerAutomate-Solution-Replace/blob/master/SolutionReplace.ps1
Firstable the script will create an Output and Temp folder. If it exist, it won’t create it.
Your zip solution is going to be extracted into the Output folder, it will parse all files and search and replace all the values defined into your Json file.
When it comes to the .msapp file, that where the Temp folder is used. It will change the .msapp file into .zip file, will extract it into the Temp folder, search and replace the value defined into your JSON file, then it will zip it and replace the .msapp file into your Output folder.
Once all the values has been replaced, it will zip your solution and you will be ready to import it.
3. How to use it
You just need to call the PowerShell script with the two parameters:
- jsonPath : Path to your JSON file with value to change
- solutionPath : Path to your .zip solution from PowerApps or PowerAutomate
Before to run the script, don’t forget to navigate using cd to the folder where you want to have Output and Temp folder.
cd "Path of folder where Ouput and Temp need to be created"
.\SolutionReplace.ps1 -jsonPath "MY JSON PATH" -solutionPath "MY SOLUTION .ZIP PATH"
4. Go further
You can push update if needed into the github project: https://github.com/ludovicperrichon/PowerApps-and-PowerAutomate-Solution-Replace
Also, I have given the script to my teams, like this they automatically generate the JSON with value to replace with what they have in theirs sites.
You can also use this scipt to generate PowerApps and PowerAutomate template.
Play with it and have fun.